Optimizing Prosthetic Manufacturing workflow
Context
Brief:
Create a digital tool to simplify and reduce errors in taking compressed tissue measurements in a clinical setting.
Visually demonstrate data collection / measurement process.
Prevent errors, when discovered, from reoccurring.
Requirements:
A measurement collection pathway to take skeletal geometry socket measurements.
An area to collect compressed tissue measurements
Streamlined measurement workflow to be passed along to Certified / licensed prosthetists.
Database of measurement data for standardization in the future.
Client:
Hand:Made Prosthetics - Prosthetic manufacturer focused on building limbs for adaptive athletes to return to sports
Tools:
Sketch, InVision, Google Forms
Marker, Paper, pen, Whiteboard
Team:
My Role: UX Designer
Supported By: UX Researcher, Content Strategist
Discover
Problem
In order to manufacture custom 3D printed prosthetics, HM needs an efficient way to accurately record and take measurements from prosthetic doctors.
I was tasked with building such a tool to replace their current paper and pencil methods.
Research Methods
My target users were Certified or Licensed Prosthetists. To conduct the proper research I needed to reach doctors. Not just any doctors, specifically Prosthetists. On top of that, they couldn’t be just any prosthetists. I needed prosthetists specializing in conventional prosthetics, not the more expensive and current myoelectric or bionic prosthetists. The specificity of the user initially made it difficult to compile research. Because of this, I utilized various methods to arrive at an effective solution.
Expert Interviews
Eventually I started getting responses from experts in the industry that I reached out to. Here were key insights from the interviews conducted at their offices:


Comparative Workflow Analysis
I started first by looking at companies doing similar things with digitized data. I found that nothing existed in this very niche industry I was designing for. This was uncharted territory, open blue sky. So with that, I looked toward other industries and analyzed the workflow of companies currently using digital interfaces to transfer data.


Comparative Feature Analysis
I did a comparative feature analysis to see what key features similar companies were including in their products that made them successful.
Analysis Insights


Define
Primary Persona
Now with enough data and research compiled, I identified a primary persona. Defining who I was crafting for was essential in identifying her needs and goals. This is Dr. Gina Green, Prosthetist.
User Journey Map
Now that I understand Dr. Green’s needs and goals, I mapped out her emotional journey and task flows to help her get to an intuitive solution.


Design
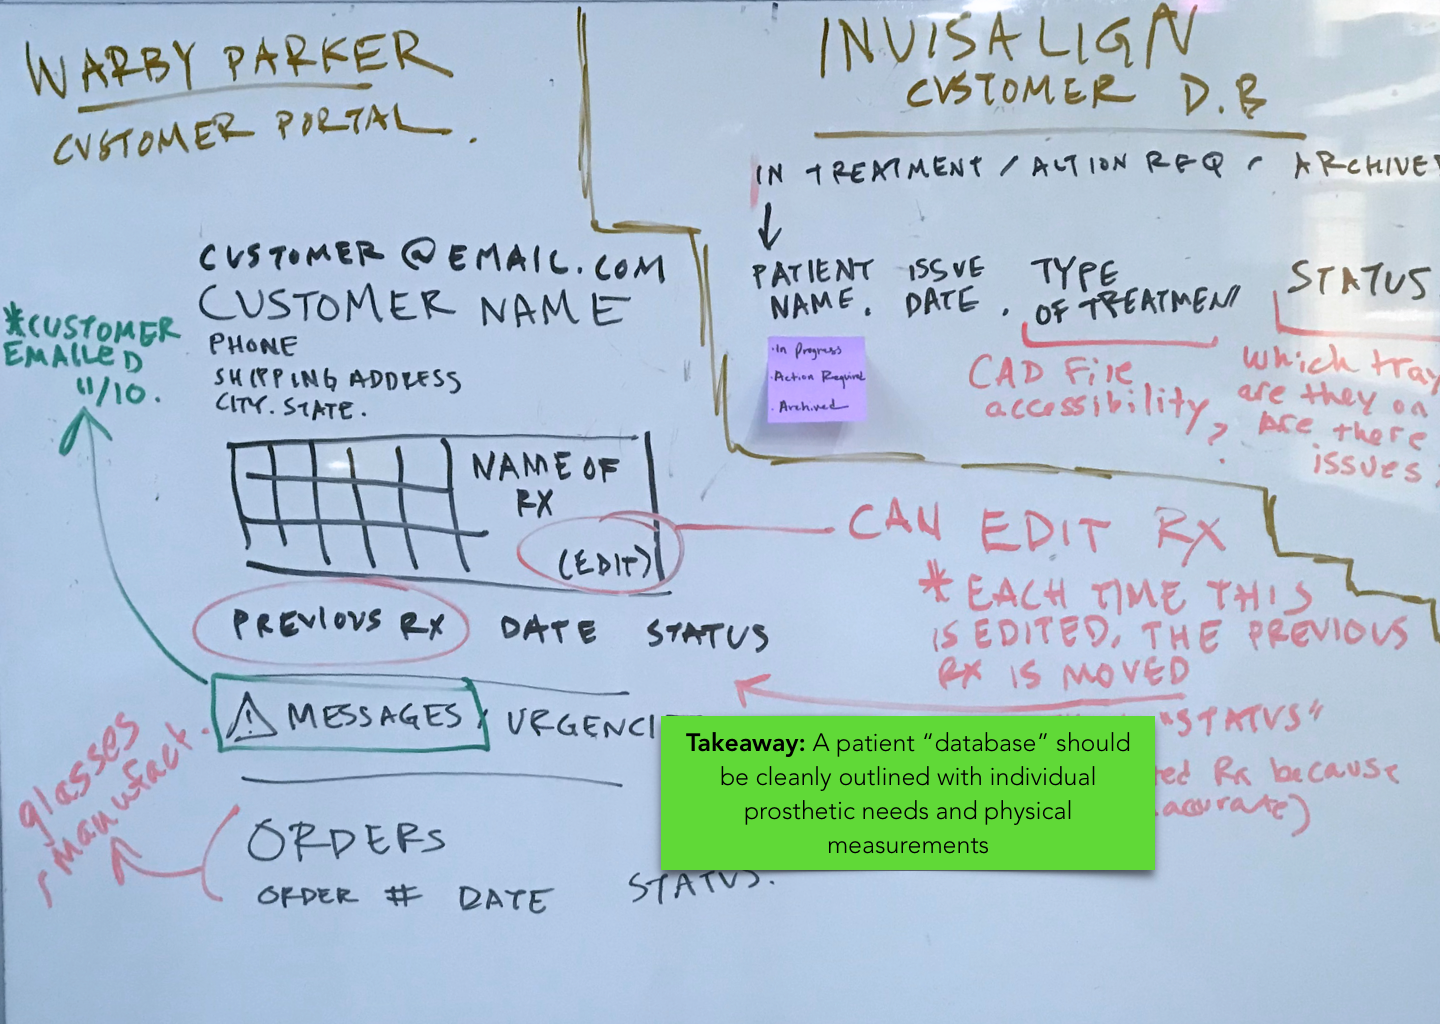
Brainstorming and Sketching
Because the brief was very specific, I was limited in the possible solutions. Despite this, I brainstormed and sketched the best possible ways I could give them a pain-free solution. I started with white boards and sketches. Then I moved onto low fidelity wireframes followed by full composition prototypes.


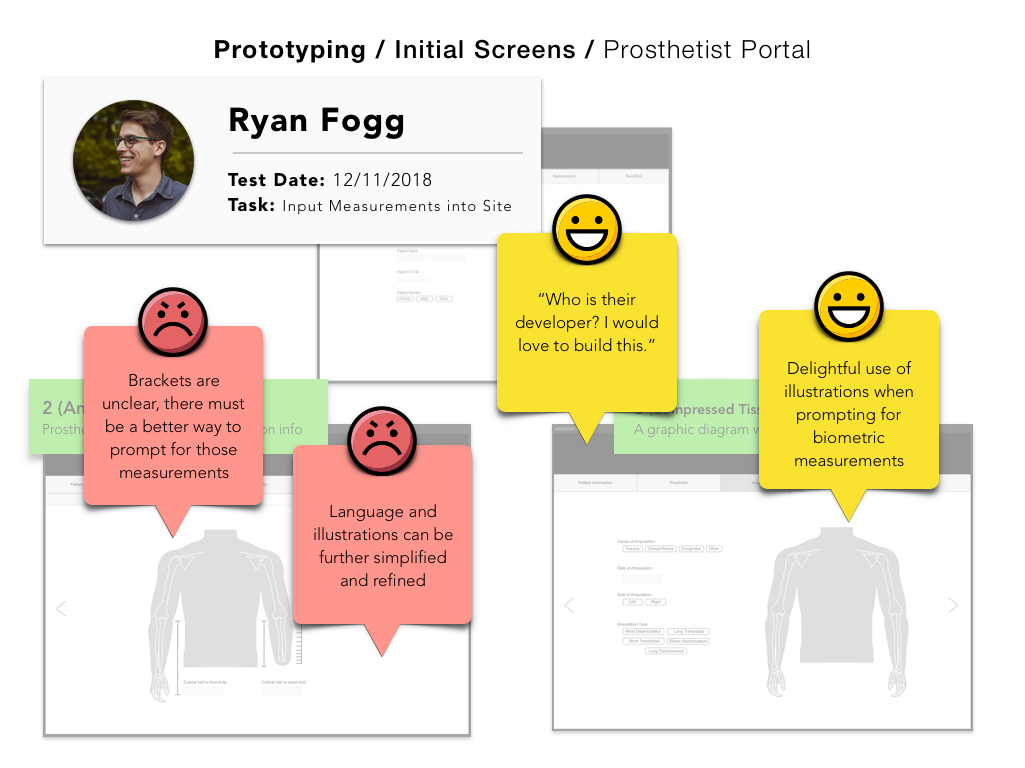
Usability Testing
Now that I had some possible solutions, it was time do some testing to inform what design I would move forward with. With the feedback of the testing, I made iterations that brought me to a finalized solution.


Deliver
SOLUTION
Create an interface for doctors to take measurements accurately to allow manufacturers to create reliable prosthetics and help adaptive athletes to return to the sports and activities they love.
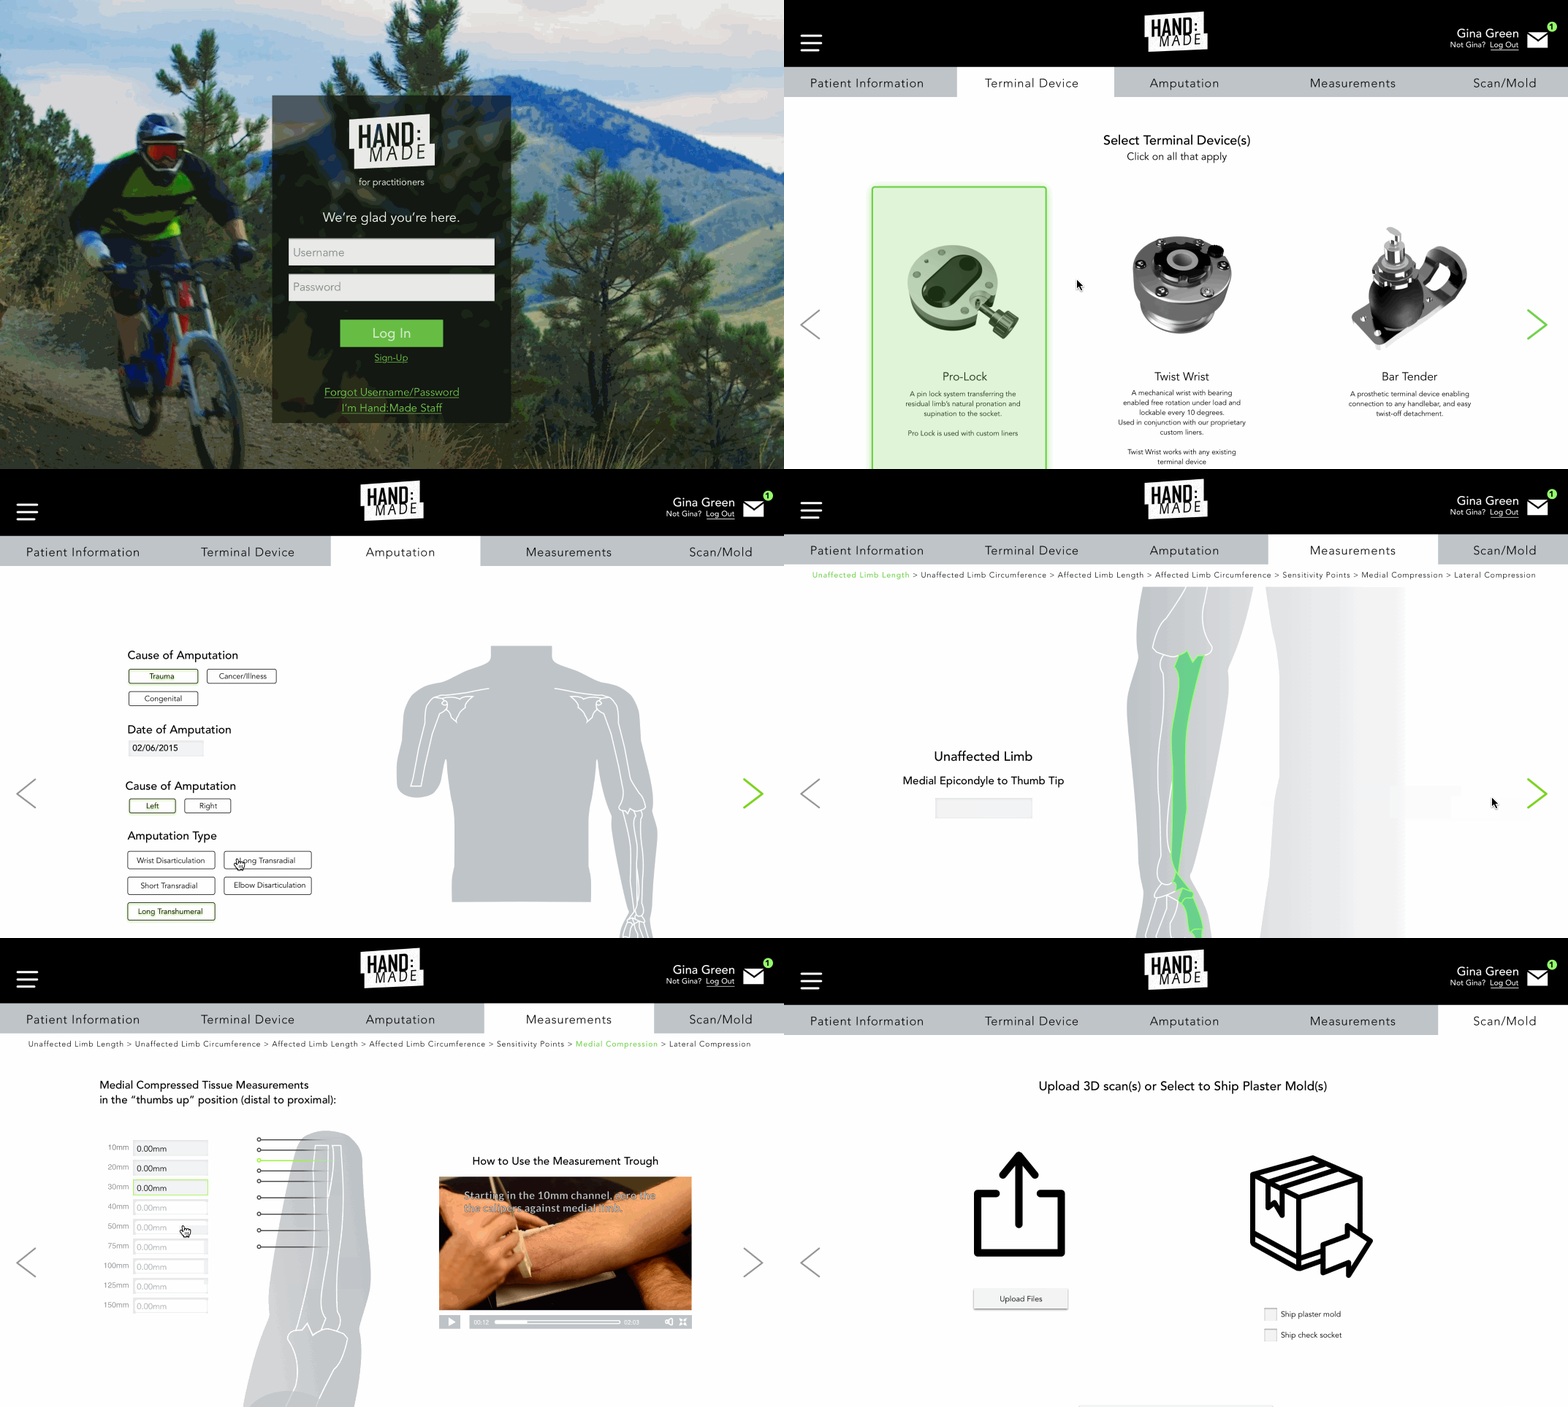
Full Comp Prototype
Here are some screenshots of the finalized prototype:


